
4 Step Flat Top Griddle Cleaning for Home and Light Commercial
4 Step Flat Top Griddle Cleaning for Home and Light Commercial
Scrape the surface while it’s still warm, push the debris toward the grease trough, wipe it clean, and coat it with a thin layer of oil before it cools. That four-step sequence, done right after every cook, is the single habit that prevents rust, sticky carbon buildup, and the kind of neglect that eventually calls for a deep restoration.
TL;DR:
- Regularly cleaning a warm griddle with scrape, hot water, dry wipe, and oil prevents rust and stubborn buildup, saving time compared to cleaning when cold.
- Weekly deep cleans should involve removing and cleaning the trough, scrubbing the surface with non-abrasive pads, and avoiding soap on seasoned surfaces to preserve the seasoning layer.
- Rust removal varies from light scraping and oiling for minor rust to careful sanding for moderate corrosion; avoid sudden temperature shocks to prevent warping.
- Using the correct tools, such as a metal scraper, squeegee, and non-abrasive pads, is essential to effectively clean without damaging the seasoned surface.
- For heavy buildup or inaccessible grease, professional dry-ice blasting offers a chemical-free solution that restores the surface safely without water runoff.
Table of Contents
- The daily quick clean you should do after every cook
- How to do a weekly deep clean without damaging the surface
- Removing rust and restoring a pitted cooking surface
- What tools and supplies actually belong in your kit
- Why cleaning connects directly to fire safety and sanitation
- Seasoning and storage habits that prevent rust between uses
- When it’s time to call in a professional cleaning service
- A hands-on checklist worth keeping by the griddle
- Get a professional, chemical-free griddle clean
- Sources
- FAQ
The daily quick clean you should do after every cook
Cleaning a griddle while it’s still warm isn’t just easier, it’s measurably faster. 3M’s food-service guidance notes that cleaning a hot griddle can be about 30% faster than scraping a cooled one with a griddle brick, because grease and food residue haven’t had time to harden into the surface. The catch is doing it safely: warm, not scorching, and never with a sudden dump of cold liquid.
Here’s the sequence that works for both a backyard flat top and a light commercial unit between orders.
- Let the surface cool from cooking-hot to warm, then scrape food debris and grease toward the trough or chute with a metal spatula or scraper.
- Add a small amount of hot water (not ice water) to loosen stubborn residue, letting it steam briefly rather than pouring it on all at once.
- Squeegee or wipe the water and loosened grease into the trough, then dry the surface completely with a clean rag or paper towels.
- While the plate is still warm, apply a thin coat of high-smoke-point oil with a cloth or paper towel, working it evenly across the steel.
During a busy service period, a light wipe and scrape between jobs keeps carbon from building up between full cleanings, so you’re not fighting baked-on residue at closing.
Pro Tip: Keep a dedicated bucket for grease trough waste so you’re not tempted to dump it down a drain, where it can solidify and clog plumbing.

How to do a weekly deep clean without damaging the surface
The daily routine handles grease and loose debris, but carbon builds up in corners, under grease troughs, and around burners over time. A weekly or periodic deep clean catches what daily wiping misses.
Start by letting the griddle cool completely before removing any parts. Pulling a hot grease trough or keg risks burns and spills. Once it’s cool:
- Remove the grease trough or catch keg and clean it separately in a sink or utility basin, disposing of solid grease in the trash rather than down a drain.
- Wipe down the underside and legs where splatter accumulates, since grease here is a common source of hidden buildup.
- Scrub the cooking surface with a griddle pad or non-abrasive scrub pad and hot water, working in sections.
- Skip soap on a seasoned griddle. Most manufacturer guidance, including Traeger’s cleaning instructions, reserves soap for the very first clean on a brand-new unit, since it can strip the seasoning layer you’ve built up.
- Rinse with clean water, dry thoroughly, and re-oil the entire surface before storing or cooking again.
Reach for a griddle brick or heavier pad only on spots that resist a standard scrub pad. Over-scrubbing with an abrasive brick on a seasoned surface removes more than carbon, it can strip the oil layer that keeps food from sticking and metal from rusting. Once the deep clean is done, treat the surface like a fresh seasoning job: light oil, heat, repeat.
Removing rust and restoring a pitted cooking surface
Rust shows up fastest on griddles left wet, uncovered, or stored without a final oil coat. How you fix it depends on how far it’s gone.
- Light surface rust: heat the griddle, scrape loose flakes, scrub with a non-abrasive pad, then oil and re-season while warm.
- Moderate rust: use a controlled sanding pass with 220-grit sandpaper to remove corrosion, wipe away all grit and dust, then re-season from scratch.
- Severe pitting or visible warping: this is a sign to stop DIY work and consider professional restoration, since sanding won’t fix a warped plate and aggressive grinding can make pitting worse.
Whatever the rust level, never pour ice or a large volume of cold water onto a hot plate. 3M’s guidance warns that thermal shock from sudden temperature swings can warp or crack the steel, turning a cleaning job into a repair job.
Pro Tip: After any rust removal, run a few light oil passes with heat before cooking on the surface again. One pass rarely rebuilds enough seasoning to keep food from sticking.

What tools and supplies actually belong in your kit
The right tools make the difference between a five-minute clean and a frustrating scrub session that damages the surface.
- Metal scraper or griddle spatula: the main tool for pushing food and grease toward the trough while the surface is warm.
- Squeegee: clears water and loosened grease in one pass, especially useful on wider commercial surfaces.
- Non-abrasive scrub pad: handles daily and weekly cleaning without scratching seasoned steel.
- Griddle brick or heavier abrasive pad: reserve this for rust removal only, since regular use wears down seasoning.
- High-smoke-point oil: canola, grapeseed, or flaxseed oil all hold up to griddle heat without breaking down or smoking excessively.
- Heat-resistant gloves: look for a rating that matches the surface temperatures you’re working around, not just general kitchen gloves.
- Paper towels and shop rags: keep a stack dedicated to griddle cleaning so you’re not cross-contaminating with other kitchen tasks.
Why cleaning connects directly to fire safety and sanitation
Grease doesn’t stay on the cooking surface. It migrates into ducts, hoods, and traps, and OSHA’s food-service guidance identifies accumulated grease in these hidden areas as a leading cause of kitchen fires. Cleaning the plate is only part of the job.
- Empty grease traps on a set schedule rather than waiting until they overflow, since neglected traps can also become confined-space hazards during servicing.
- Keep a Class K extinguisher near any griddle or fryer setup and never use water on a grease fire, which can cause the fire to spread violently.
- Bring in a professional hood, duct, or grease-trap cleaner for buildup you can’t safely reach or assess yourself.
- Follow written cleaning frequencies for food-contact surfaces, which FSIS sanitation guidance treats as a baseline for preventing contamination, not an optional extra.
Seasoning and storage habits that prevent rust between uses
A well-seasoned griddle resists rust and releases food cleanly, but seasoning breaks down without consistent care.
- On a brand-new griddle, wash once with soap and water to remove the factory coating, then dry completely before seasoning.
- Apply a thin layer of high-smoke-point oil and heat the surface until it smokes lightly, repeating two or three times to build a polymerized layer.
- After every cook, a light oil wipe while the surface is warm maintains that layer, as Traeger’s guide recommends for rust prevention.
- After a deep clean or rust removal, treat the surface like new and run a full multi-pass seasoning before cooking on it again.
- Store the griddle covered and dry, since humidity is one of the fastest ways a well-seasoned surface starts rusting again.
When it’s time to call in a professional cleaning service
Not every griddle problem responds to scraping and oil. Heavy carbon buildup that’s accumulated over months, grease packed into inaccessible seams, or a strong preference to skip chemical cleaners entirely are all situations where a professional service makes more sense than another weekend of scrubbing.
- Dry-ice blasting removes baked-on carbon and grease without abrasive pads or chemical residue left on the cooking surface.
- The process uses minimal water, which matters for outdoor equipment where standing water or runoff is a concern.
- Quoting is handled through submitted photos, so you get a sense of cost and scope before scheduling anything.
For griddles, smokers, and other outdoor cooking equipment that have gone past what a scrub pad can fix, this kind of service restores the surface without the trial and error of DIY rust removal.
A hands-on checklist worth keeping by the griddle
Six steps, in order, cover almost every cleaning situation: heat the surface to warm, scrape debris toward the trough, add hot water for stuck spots, squeegee and wipe, dry completely, then oil. If you’re looking at heavy pitting, warping, or carbon that’s been building for months, that’s the point to stop scrubbing and book a professional clean instead of forcing it.
— Cameron
Get a professional, chemical-free griddle clean
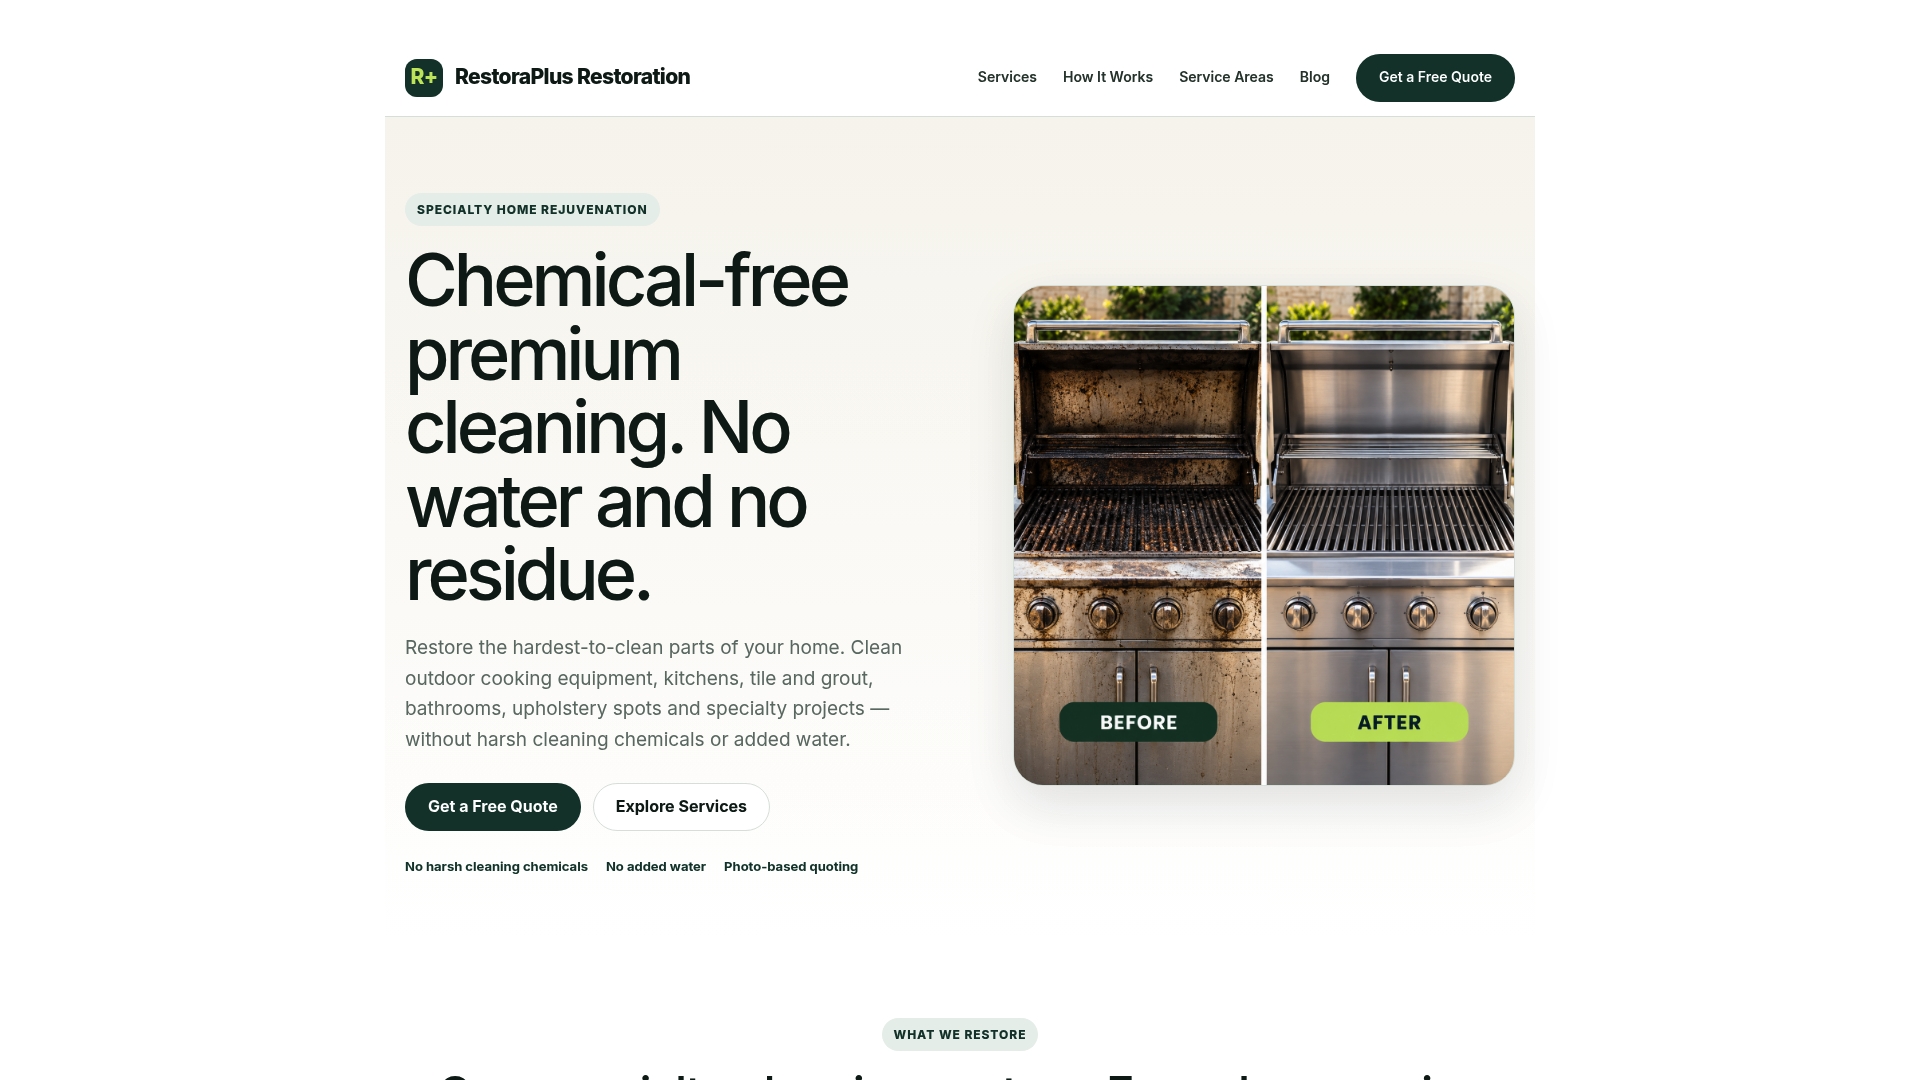
Some carbon buildup just outlasts a scrub pad and an afternoon of elbow grease. RestoraPlus handles that gap with chemical-free dry-ice blasting, a method that lifts grease and carbon off outdoor cooking equipment without water runoff or harsh cleaners left behind on a surface you cook on.
- Best fit for heavy carbon buildup, rust that’s gone past a light sanding job, or grease packed into spots a scraper can’t reach.
- Quotes are based on photos clients submit, so you can understand the scope before booking.
- Covers grills, smokers, pizza ovens, and other outdoor cooking equipment, alongside kitchen, tile, and upholstery cleaning.
If your griddle needs more than another round of scraping and oil, check RestoraPlus’s outdoor cooking equipment services and send a few photos to get started.
Sources
- How to Clean Your Restaurant Griddle - Food Service | 3M US
- How to Clean a Flat Top Grill - Traeger Grills
- Food services fire safety — OSHA
- FSIS directive on sanitation SOPs
- How to Clean a Blackstone Griddle, According to Experts | The Kitchn
FAQ
How do I get the black stuff off my griddle?
That black residue is usually carbonized grease and food buildup, and it comes off best while the surface is still warm. Scrape it toward the trough, add hot water to loosen stubborn spots, then wipe dry and re-oil, following the same warm-cleaning approach 3M recommends for faster results.
Do you put oil down every time you cook on a Blackstone?
A light coat of oil before and after cooking helps maintain the seasoning layer and prevents sticking and rust. Traeger’s guidance recommends applying a thin layer of high-smoke-point oil while the surface is still warm after each clean.
Can I use dish soap to clean my griddle?
Soap is recommended only for the very first clean on a brand-new griddle, since it strips the factory coating you need to season over. After that, manufacturer and expert guidance favors hot water and scraping instead, because soap can also break down the seasoning layer you’ve built up.
What are common griddle cleaning mistakes?
Pouring ice or large amounts of cold water onto a hot plate is one of the most damaging habits, since the resulting thermal shock can warp or crack the steel. Other frequent mistakes include over-scrubbing with an abrasive brick on a seasoned surface and skipping the post-clean oil step, which leaves the metal exposed to rust.
